

This article is no longer updated.
Please go to our new Intercom knowledge base to ensure you're seeing the most recent version.
The link above takes you directly to the equivalent article on Intercom.
The text at the bottom of invoices is set when the invoice is generated. To set the text before (or while) generating invoices, see the article on Invoice Setup.
Once the invoice is generated, the note is saved with it. You may wish to change this text on an existing invoice (or set of invoices), for example if you are re-sending a set of outstanding invoices, and the original note text is no longer relevant. To change this note, follow the steps below.
Go to Home > Accounts > Navigation : Invoices.
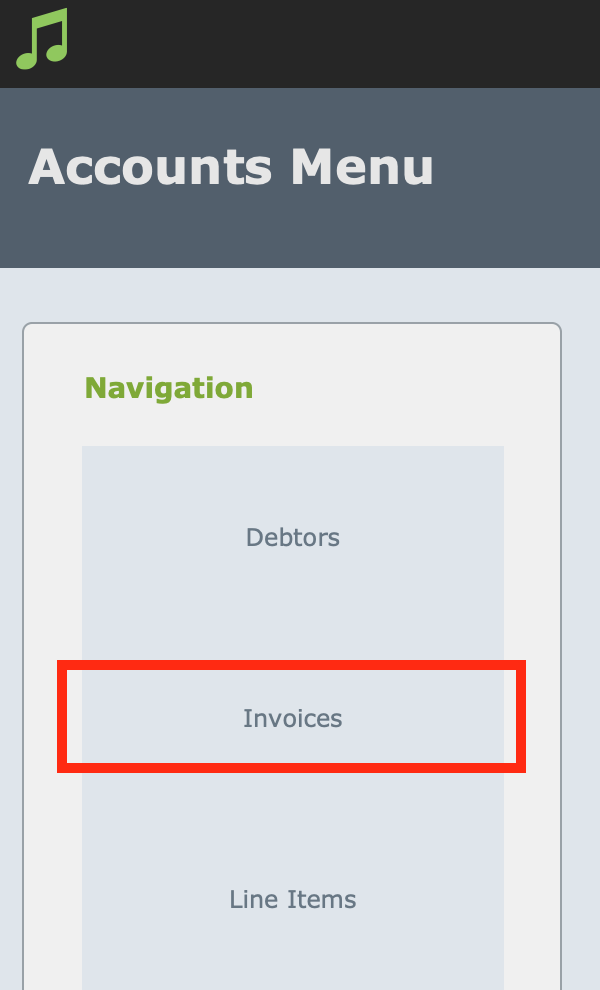
On the Invoices List View, find the group of invoices you wish to edit.

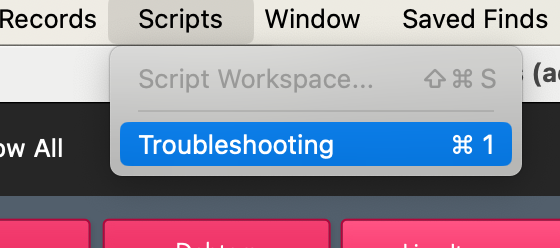
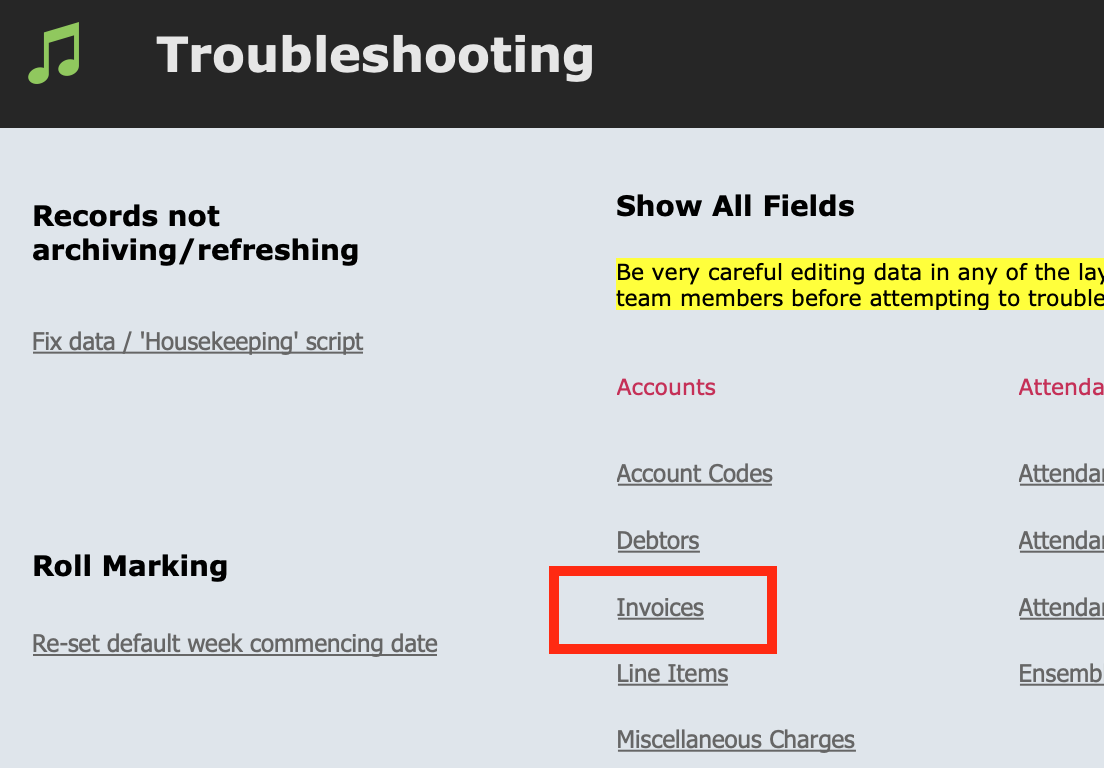
Then, select Scripts > Troubleshooting from the grey top bar menu before selecting Show All Fields : Invoices.
Scroll across to find the field that contains the note text.
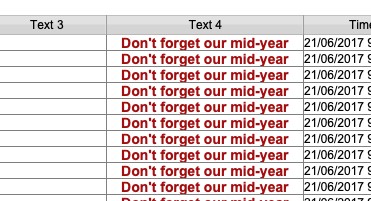
Change the text in the first record.
Then select Records > Replace Field Contents... from the grey top bar menu.
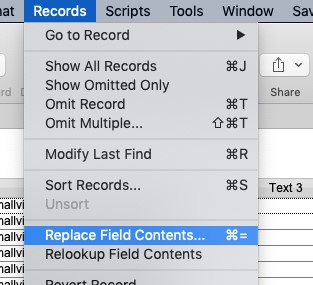
Double check the details in the dialog box before selecting Replace.
The text of the note will now be changed for all records. To check the change has applied as desired, open one of the affected invoices.